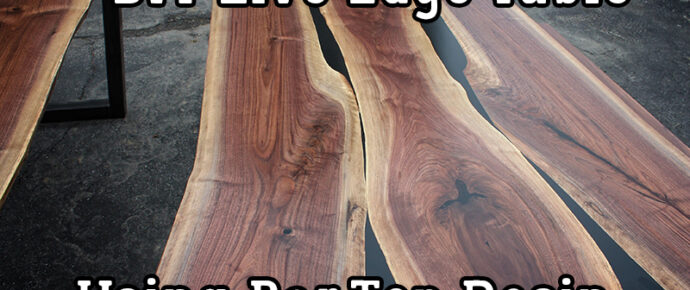
DIY Live Edge Table Using Bar Top Resin
Live-edge resin tables are wonderful art pieces and highly sought after furniture. It is possible for DIY hobbyists and wood workers to use some skills and planning to create these beautiful masterpieces. This type of furniture is high in demand and used where craftsmanship and tradition are paramount. Skilled craftsmen often create such pieces which are sold for thousands of dollars. But it is possible to make live-edge table at home using some inexpensive materials and effort.
Table and bar top epoxy resin coating allows turning a log of wood into an aesthetically appealing art piece that you may not find anywhere else. If you too have ever wondered about giving life to your imagination of live edge table, you will be able to make it possible with this guide. In this post, we show how one can create his own epoxy live-edge table using an old coffee table or other wood top. You can use the process to decorate small tables, larger dinner tables and other types of decor pieces and furniture as well. Some of the links on this page are affiliate links and as an Amazon Associate I might earn a tiny amount from qualifying purchases if you end up buying something through one of them.
Page Content Navigation
Step 1: Starting Your Bar Top Resin Table By Prepping Your Materials
Here is what you will need:
Wood log
Sealant tape
It is important to make sure that the working environment is dry and heated with an ambient temperature of about 20 degree C throughout the process. Also, check that the material and the resin are also at room temperature.
Step 2: Selecting and Preparing the Wood
Make sure you choose a dry, flat and seasoned wood. You can pick any style or type of wood you like but waney edges and grains work the best for this project. You can either cut down the wood to prepare your piece or ask the supplier to cut it for you to the right size and depth. You can then use a brush to remove any bark from the live edge. Use a sander to level and smoothen the top of your table. Clean off any dust in the nooks of the piece with the help of a vacuum cleaner.
Step 3: Sealing the Wood
Now, you can check for knotholes, cracks and gaps on top as well as bottom of the wood piece and seal them. Using a release tape, seal these cracks and gaps to prevent the poured resin from running away. You can also use heating gun to help the tape adhesive stick to the piece better. Once the taping is done, flip the piece over. You are ready for the first pour.
Step 4: Preparing the Resin & Epoxy Resin Coating Wood
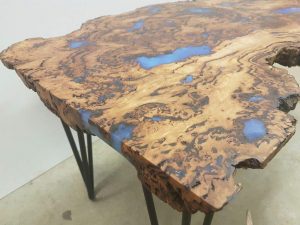
It is a matter of personal taste whether to leave the resin clear or color it. Many people prefer using metallic pigments, glow powders or solid colors with their resin. We would recommend testing a small amount of resin with the desired effect before putting it into practice for your table. We have used a blue metallic tinting pigment in the resin to achieve a watery effect on the table. Following the instructions on the product, measure the total resin required for the entire project. Add the pigment to the resin and mix thoroughly. Now, add the right amount of hardener and mix again. Make sure you’re using a quality resin product.
Step 5: Pouring the Resin Using the Best Table Top Epoxy

Step 6: Sanding
Use a sander to remove any excess, dried resin on the top of the wood piece. This lets you achieve a flat, even surface with equal thickness all over. You can use a hand-held sander to work through smooth to coarse grits to get a beautiful finish over the resin and wood. If you want to achieve a glossy finish, you can avoid sanding and pour a coating resin over the surface. If you don’t have a sander, you can just get a simple orbital sander like this Dewalt – it will last you for years.
Step 7: Add Legs
Lastly, add ready-made legs like hairpins to be able to use the top you just created as a coffee table. Admire the live-edge table you just created and show it off to your friends by inviting them.
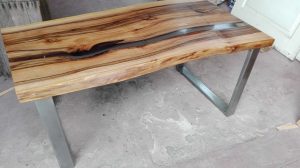
You can use bar top epoxy resin coating for wood from leading brands like Marine Supplies to create a unique and creative DIY live edge table. These are high-performance 2-part epoxy systems specially designed for wooden table tops and bars, art work, wood finishes and other applications that require a clear and strong coating. You can use your creativity to create different types of live-edge tables. Use wax or stain to change the appearance of your wood or create a channel in the wood to create a river. You can also embed objects int he resin pours to decorate the table further.
Use the process for a variety of projects with wood to explore the possibilities limited just by your imagination.


Leave a Reply