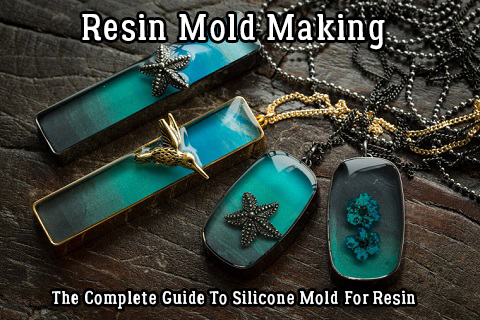
Resin Mold Making – The Complete Guide To Silicone Mold For Resin
You may have come across situations where you need spare plastic parts or need to replace broken or worn parts like door bell switch or plastic cap. You may sometimes want to make multiple parts of a favorite model like car parts. All these and much more can be accomplished using resin casting – making a mold of the desired item and pouring plastic resin into the mold. This may sound simple but is somewhat complicated and time-consuming in practice. It involves preparing the desired item for mold, molding and pouring the resin and finally cleaning the prepared part.
Here is the complete step-by-step guide to making a silicone mold for resin and some useful tips and instructions to make it easier. Some of the links on this page are affiliate links and as an Amazon Associate I might earn a tiny amount from qualifying purchases if you end up buying something through one of them.
Page Content Navigation
Silicone Molds For Resin Tutorial
 This is a really easy and quick way of making a silicone mold. With this method, you can quickly make casts of anything solid and remove it when the silicone is set to get your mold ready in just 20 minutes.
Materials you need:
- Silicone sealant
- Hand soap
- Latex gloves
- Caulking gun
- Bowl or bucket
- A part to make the mold
Instructions:
- Mix the soap and water together in approximately 1 part soap and 10 parts water ratio.
- Cut out the end of the silicone and squeeze out all of it using the caulking gun. If your mold is small, you can use a little of it and save the rest for the next time.
- Work the silicone until the stickiness goes away. Use your hands to squeeze the silicone keeping it submerged in water for some time.
- Transfer it into a container while it is wet.
- Next, press your object into the silicone to create the mold. Try it with something with smooth edges which silicone can peel off easily.
- Leave the object in the resin until the mold becomes firm. This should not take very long. When done, peel the object out of the mold carefully and the mold out of the container.
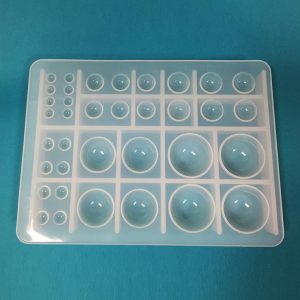
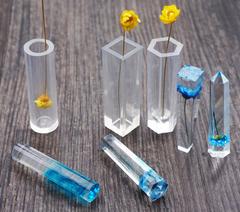
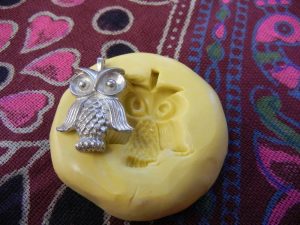
Now, if you don’t want to bother making your own molds, you can purchase many pre-made types here fairly inexpensively.
Materials Needed For Resin Molds – Build a DIY Resin Casting Kit
Following is the list of items you will need to create a plastic piece:
- Object being molded
- Modeling clay
- Silicone rubber
- Cups of different sizes
- Casting resin – make sure you get some that is resistant to yellowing like this stuff
- Mold release
- Popsicle sticks
- Razor blade
- Tweezers
- Masking tape
- Rubber bands
- Chipboard
- Rolling pin
- Paint brushes
- Ruler
- Foam board
The first step is to prepare the object for molding. It can be anything made of plastic or a foam carving which was shaped to make a custom piece. Regardless of the origin of the item, molds are all prepared the same way. We can get started by preparing a chunk of clay; it should be bigger in size than the object chosen for molding and should have a thickness of about 0.5 inches. Knead the clay properly and roll it into a ball. Place it on a smooth and clean surface and use a rolling pin to flatten it. Use popsicle sticks to give it a leveled and smooth surface. The clay now has a pancake-like shape. Place it on the chipboard. Put the object to be molded into the clay. Once it is positioned, smooth up the clay up to the object’s edge to make a seal between the object and the clay.
Make a four-sided box for the mold by measuring the part in the clay. Place the box around the part by applying pressure to make a mark in the clay. Take the box away and cut the clay at the marks created. Again, place the box around the part in such a way that the clay fits snugly int he box. Take a clay chunk and roll it into a long piece, wrap it around the box and smooth it to the side and chipboard. Smooth the clay inside the box to create a seal. According to the design and position of the item, add vent and air holes so that resin can enter and air can escape.
Once the object is prepared, estimate the amount of silicone needed for the half pour. Mix the appropriate amount of silicone and make sure it is mixed properly. Pour the silicone into the part and allow enough time to sit and dry for the right time. Once it dries up, remove the clay securing the box to the chipboard. Flip it over and remove the clay carefully to make sure you don’t disturb the part. Coat the exposed silicone using a mold release to prevent the new pour from mixing with the current pour. Again, estimate the measure of silicone and make the second half of the part. Use enough mold release to ensure that the halves separate easily. Remove the part from the mold carefully and it is ready to create a cast.
Place the two halves of the mold together and secure with rubber bands. Mix the plastic resin and add any coloring if needed. Pour the mixture slowly into the mold. Let the resin harden as suggested by the manufacturer. Then, remove the rubber bands and separate the mold halves.
 The final step is cleaning the part of any flash, air holes, part lines and sprues. Once it is cleaned properly, you have the final part or the replica. You can see a great example of this on our Cuttlebone Casting Jewellery | DIY Cuttlefish Casting Process article here.
Some items or parts may need a little modification of the instructions mentioned here but the basic principles remain the same. With a little bit of practice, you should be able to create a replica of almost any part using this method.
Leave a Reply